Stellar Work Construction
Hardscaping & interlocking
Home » Exterior Renovation » Hardscaping & Interlocking
Our Hardscaping & Interlocking Services
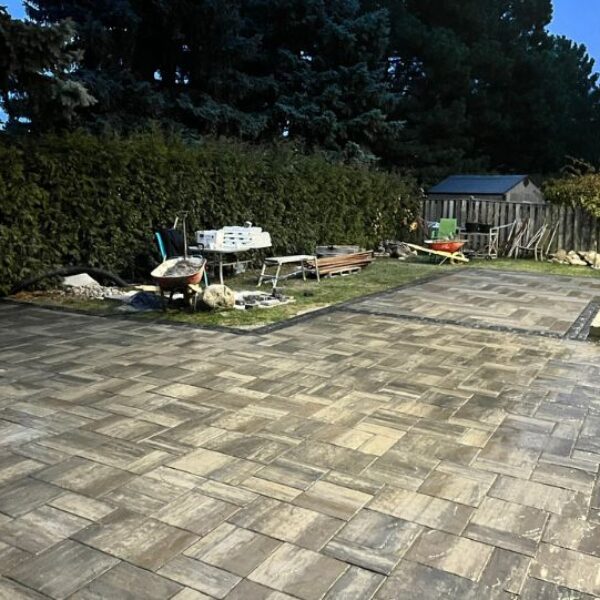
Hardscaping extends beyond just interlocking pavers to include various structural elements in outdoor spaces:
- Retaining Walls: Useful for managing slopes and creating level areas.
- Outdoor Kitchens: Incorporating cooking and dining areas into the landscape.
- Fire Pits: Adding warmth and ambiance to outdoor living spaces.
- Water Features: Such as fountains or ponds, enhancing the sensory experience of the landscape.
- Pergolas and Gazebos: Providing shade and structure to outdoor areas.
Interlock Installation Process
- Design and Planning
- Choose a design pattern that fits your needs, area, color, and style preferences
- Determine the project area and required materials
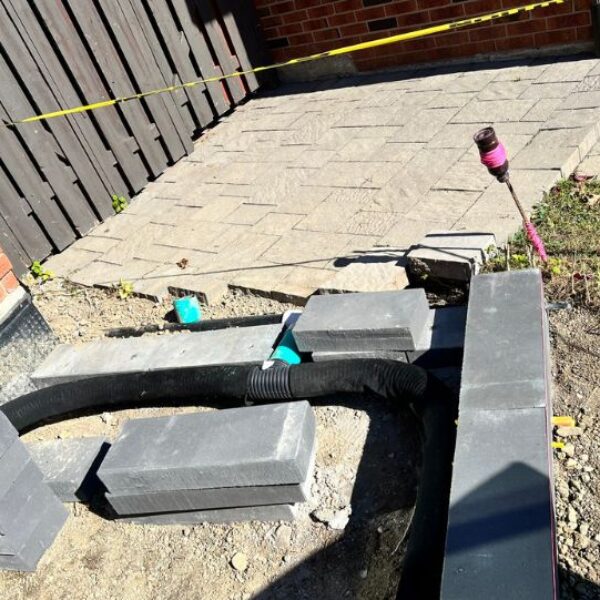
- Ensure proper drainage planning with a 1/8-1/4 inch drop per foot
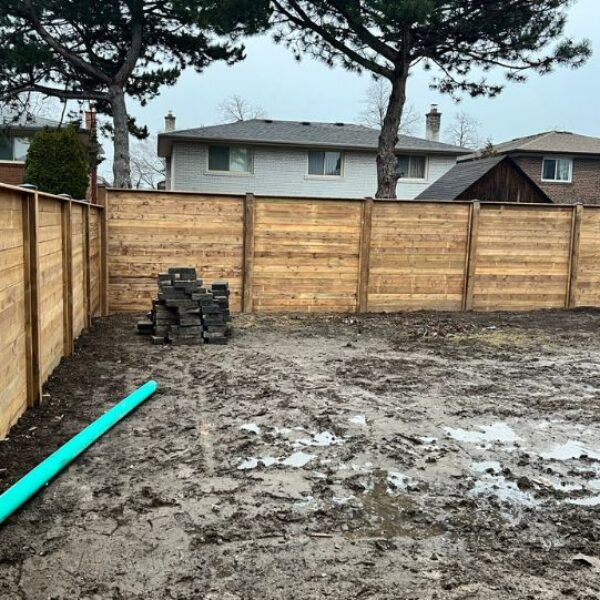
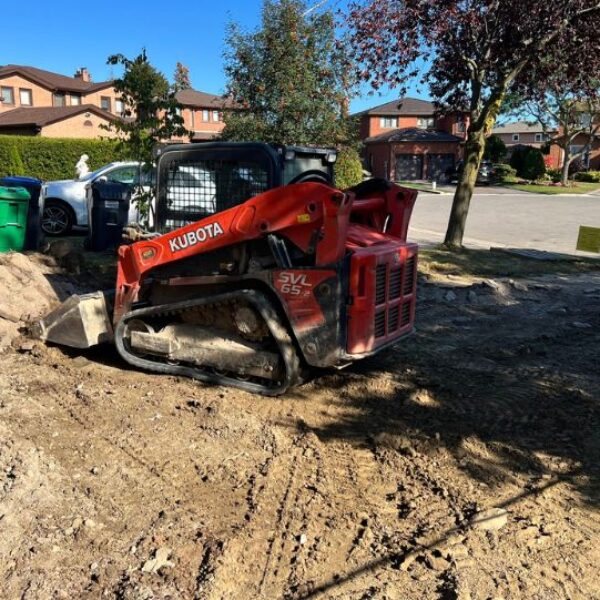
- Site Preparation
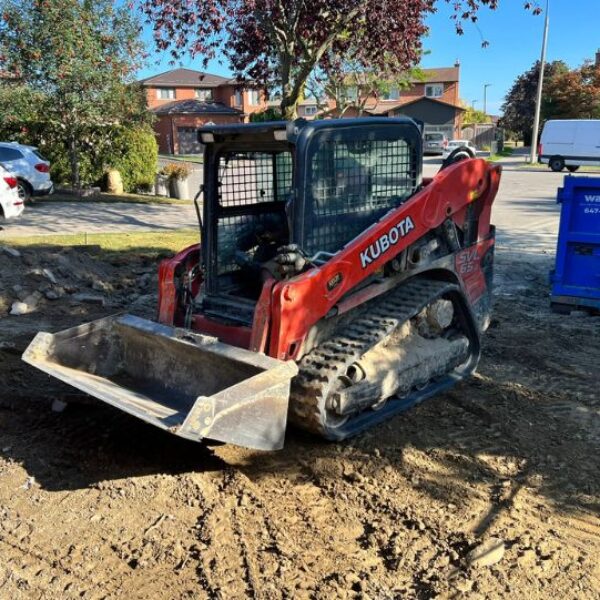
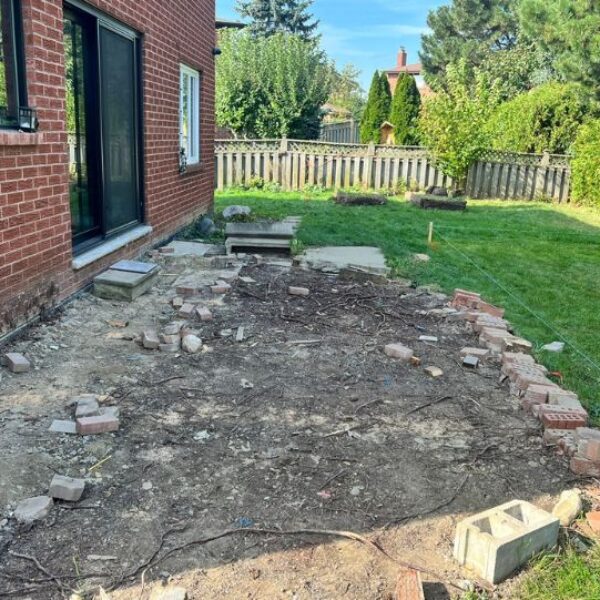
- Clear and excavate the area to a depth of 2-10 inches below existing grade, depending on usage
- Mark utilities and ensure safety measures are in place
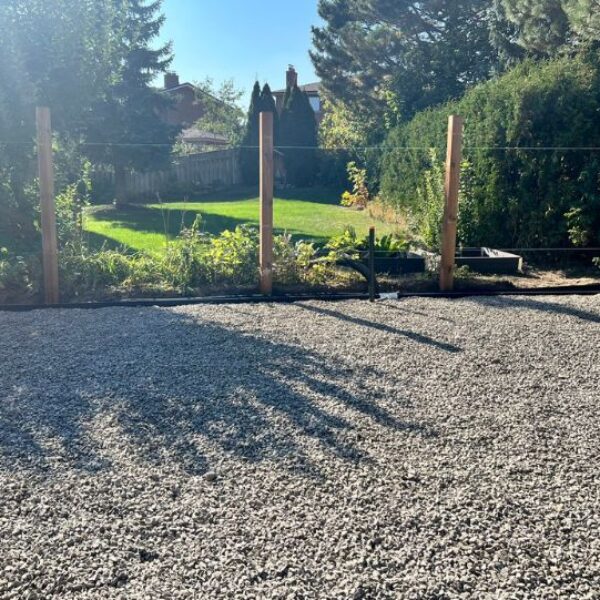
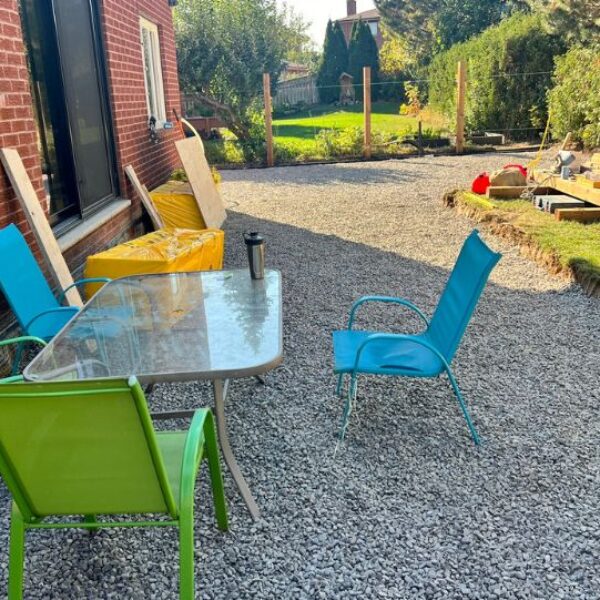
- Base Preparation
- Fill the excavated area with baserock
- Level and compact the base material
- For pedestrian traffic: 3-4 inches of compacted base
- For vehicular traffic: 12-14 inches of compacted base
- For heavy vehicles: 22-24 inches of compacted base
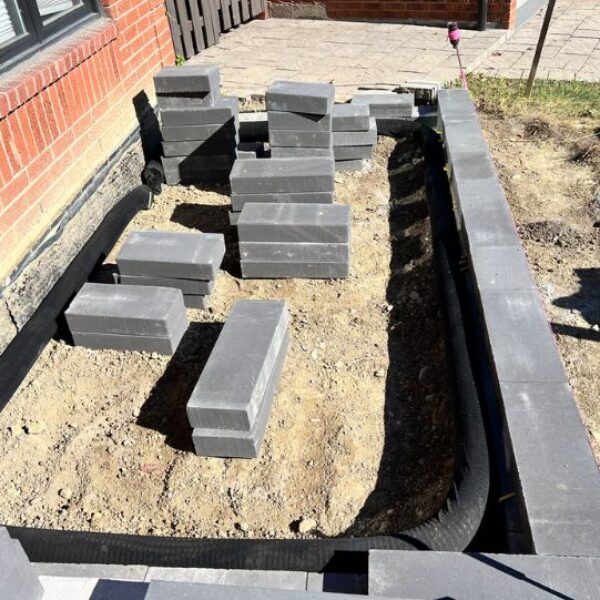
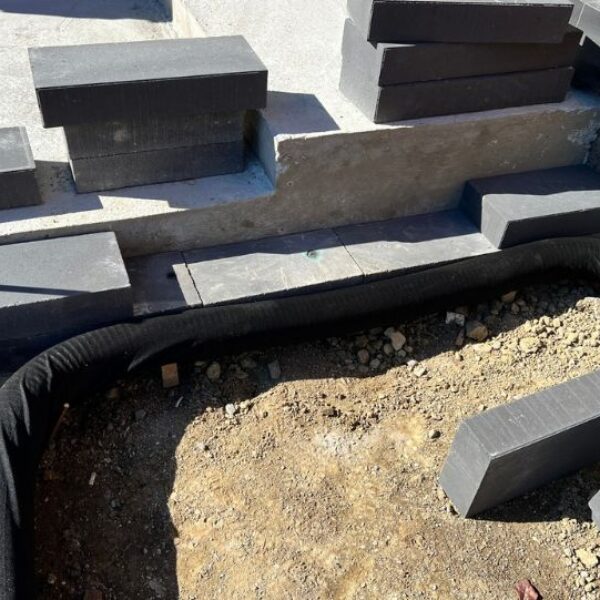
- Edge Restraint Installation
- Install a stable edge restraint to prevent lateral movement of pavers and sand bedding
- Options include existing hard edges, vinyl molded restraints, or concrete restraints
- Sand Bedding
- Spread a 1-inch layer of clean, sharp concrete sand as a bedding course
- Level the sand using screed pipes and a straight edge
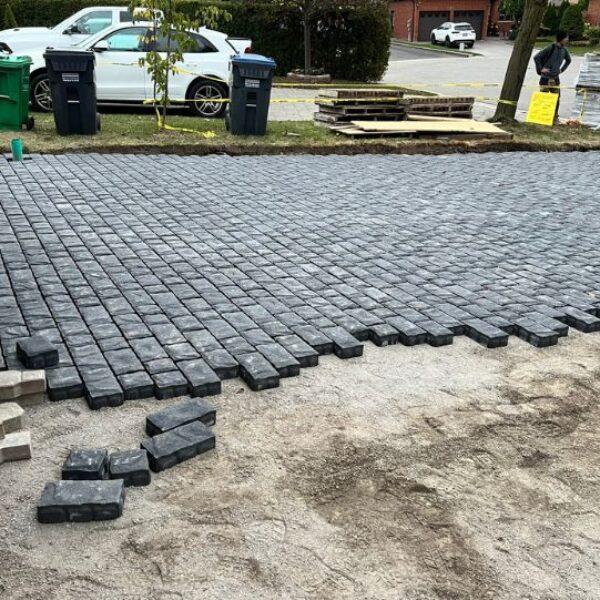
- Laying Pavers
- Start at a 90-degree corner or use a pre-set string as a guide
- Place pavers flat on the sand bed, working in a forward motion
- Follow the chosen pattern layout, checking frequently for accuracy
- Use a masonry saw to cut pavers as needed for edges and corners
- Initial Compaction
- Spread a light layer of sand over the laid pavers
- Use a vibrating plate compactor to begin the interlocking process
- Joint Filling
- Spread dry paver joint or masonry sand over the surface, about 1/4 inch deep
- Use the vibrating plate compactor to work the sand into the joints
- Repeat the process 2-3 times to ensure joints are completely filled
- Final Compaction and Cleaning
- Make a final pass with the vibratory compactor
- Sweep off excess sand
- Optional Sealing
- Apply a sealer to protect pavers from stains and stabilize joint sand (if desired)
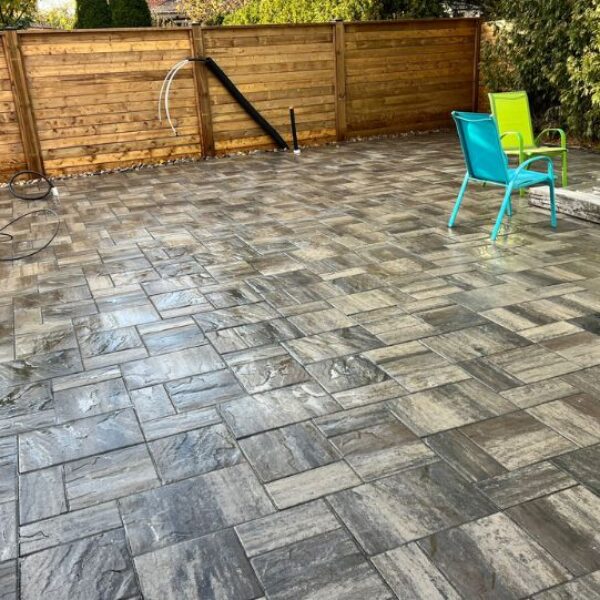
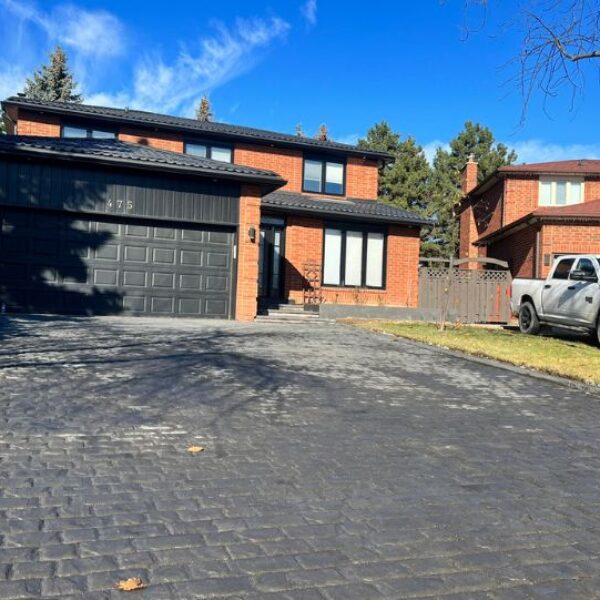
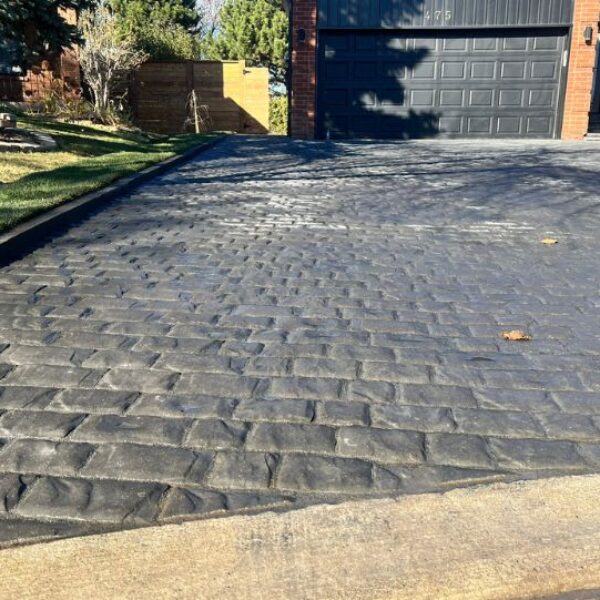
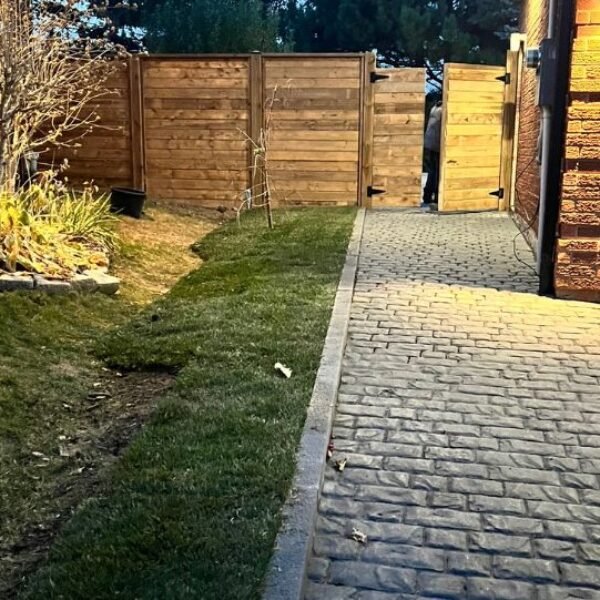
Our projects Gallery
